
How to Choose a Backpack: The Complete Buyer's Guide


How do I choose a backpack?
Choose a backpack by working through four decisions in order: capacity (litres) for what you carry, fit (torso length and straps) for comfort, features (access, pockets, weather resistance) for convenience, and use case (school, travel, hiking) for durability and layout. This guide uses a simple decision tree so you can match your needs to the right backpack type in minutes.

Step 1: Start with the decision tree (pick your backpack type first)
If you decide the use case first, the rest becomes easier because capacity, features, and materials follow naturally. Use this quick flowchart-style path and stick to the first answer that matches your real day-to-day use, not a one-off trip. If you’re buying for a child, prioritise fit and practical access over “extra” features that add weight and fiddly straps. For browsing kid-focused options straight away, start with All kids backpacks.
- If you need a bag mainly for school: Choose a school backpack (typically 12–25 L)
- If you need a bag for day trips or clubs: Choose a daypack (typically 15–30 L)
- If you need a bag for cabin travel and city breaks: Choose a travel daypack (typically 20–35 L)
- If you need a bag for hiking: Choose a hiking backpack (typically 20–35 L day hike, 40–60 L overnight)
- If you need a bag for 3+ weeks with lots of gear: Choose a trekking backpack (typically 60 L+)
Step 2: Choose the right capacity (litres) and check the real-world fit
Capacity is the quickest way to rule backpacks in or out, but litres only help if you connect them to what you actually carry. A “20 L” bag can feel cramped if the shape is narrow, and a “30 L” bag can be awkward if it’s tall and top-heavy. Think in terms of your bulkiest items first: lunchbox, PE kit, laptop, or a spare jumper. Then check whether you need space for odd-shaped items like a packed lunch container that must stay upright.
Use this capacity decision path:
- If you carry only essentials (phone, keys, small water bottle): Choose 10–15 L
- If you carry school or work basics (A4 folder, pencil case, lunch): Choose 15–25 L
- If you carry a laptop plus extras (headphones, charger, gym kit): Choose 20–30 L
- If you pack for a full day out (layers, snacks, small towel): Choose 20–30 L
- If you pack for an overnight stay (clothes, toiletries, spare shoes): Choose 35–50 L
- If you pack for multi-day hiking or long trips: Choose 50–70 L+
How do I choose the right backpack size for a child?
Start with the child’s age range and back length, then sanity-check it against what they’ll carry most days. A backpack should sit high enough that it doesn’t bang the lower back or hips when they walk, and it shouldn’t be wider than their shoulders. For many children, “one size bigger for later” backfires because the straps won’t sit correctly and the load swings. NoBoringSuitcases offers two kid backpack sizes: 26 x 10 x 32 cm for ages 3–8, and 30 x 15 x 39 cm for ages 8–12.

Step 3: Get the fit right (this matters more than most features)
A backpack that fits properly feels lighter, even if it carries the same load. Poor fit shows up fast: slipping shoulder straps, a bag that drags backwards, or pressure points near the neck. Fit is not just about strap length; it’s also about where the back panel sits and how the weight stays close to the body. For kids in particular, a stable fit reduces the “swing” that makes them lean forward.
Check fit in this order:
1. Put the backpack on with a typical load (not empty)
2. Tighten shoulder straps until the bag sits close to the back
3. Check the top of the bag: It should not pull backwards or sit above the head
4. Check the bottom of the bag: It should not hit the tailbone when walking
5. Walk for one minute: If it bounces, reduce load or choose a smaller bag
How do I know if a backpack fits properly?
A good fit feels secure without digging in. You should be able to slide two fingers under the shoulder straps, the bag should stay close to your back when you lean forward slightly, and the weight should not hang low. If the shoulder straps sit too close to the neck or keep slipping off, the backpack is the wrong shape or size for your torso.

Step 4: Choose the access style that matches your routine
Access is one of the most underrated decisions because it affects every single day you use the bag. A classic top-zip is fine for light loads, but it can turn into a rummage-fest if you carry lots of small items. For school runs, clubs, and days out, you want quick access to snacks, tissues, and a water bottle without emptying the main compartment onto the floor. For travel, you’ll care more about being able to reach chargers, documents, and headphones quickly.
Match access to your habits:
- If you hate digging for small items: Choose a backpack with a clear front area or easy-to-see layout
- If you pack lots of small bits (pens, cards, cables): Choose more pockets, fewer deep compartments
- If you need fast-grab items (snack, wipes, pass): Choose a front panel area you can see at a glance
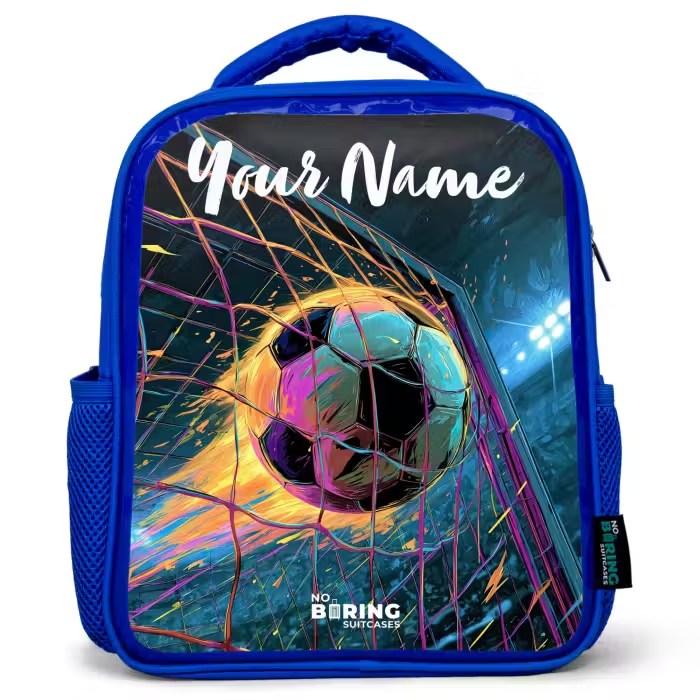
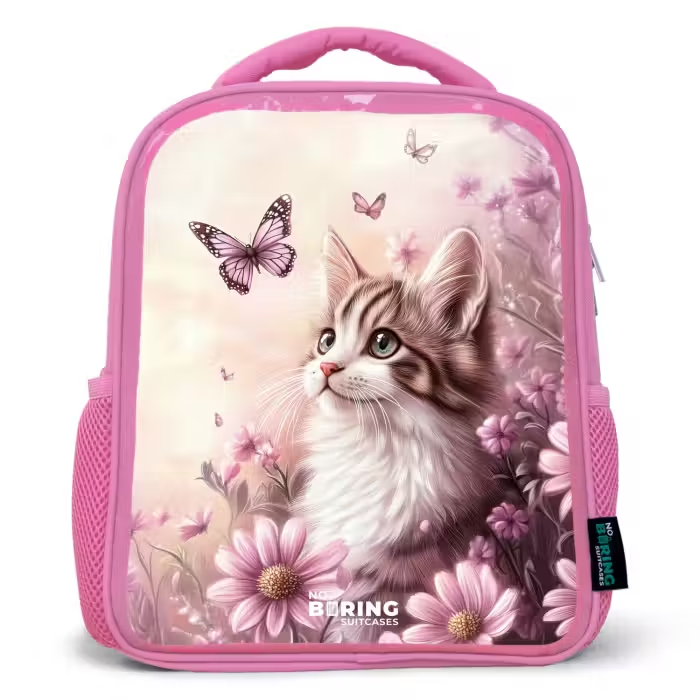
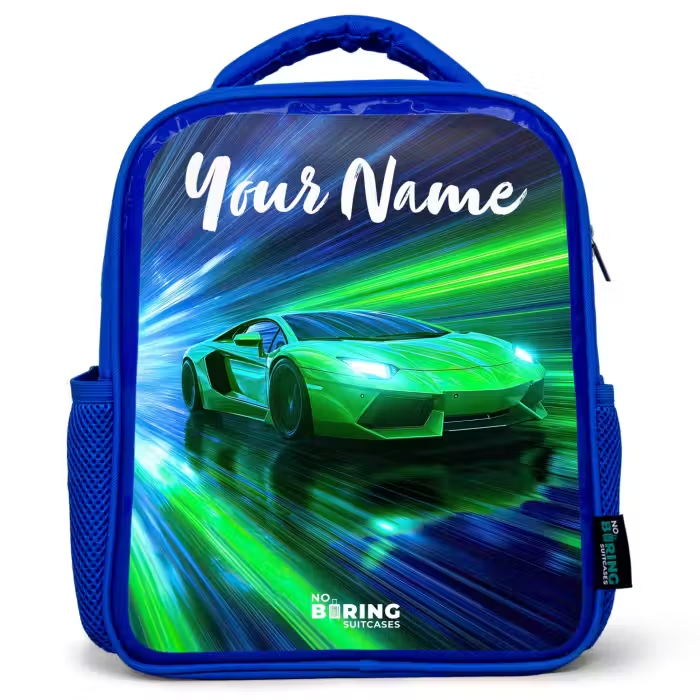
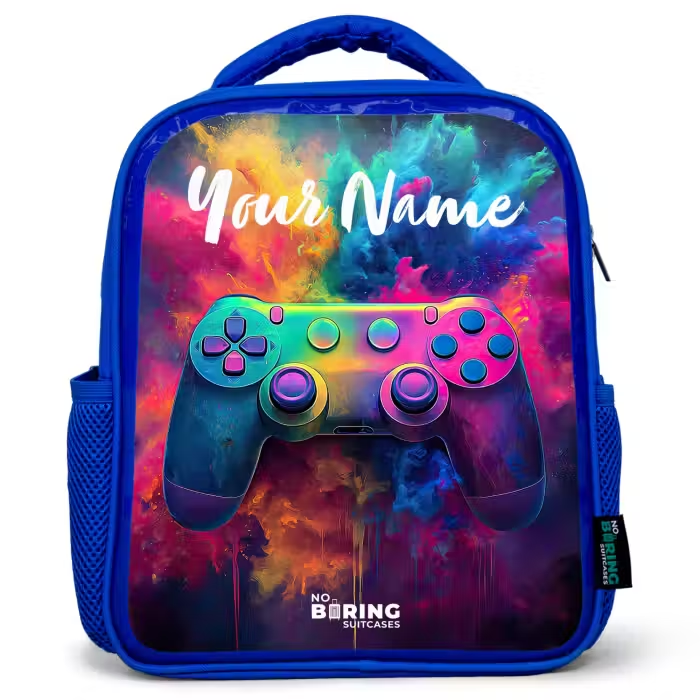
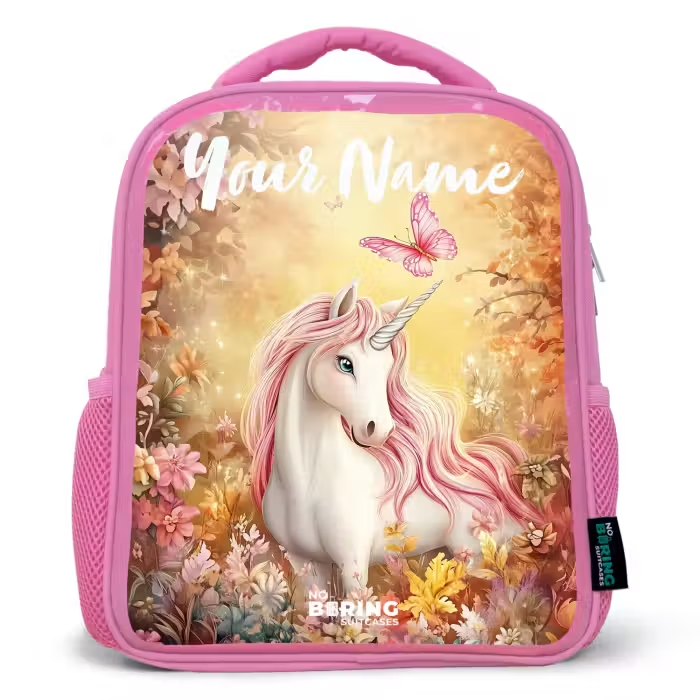
NoBoringSuitcases kids backpacks use transparent PVC combined with polyester, which makes it easier to spot what’s inside quickly while staying sturdy for everyday use.

Popular backpacks
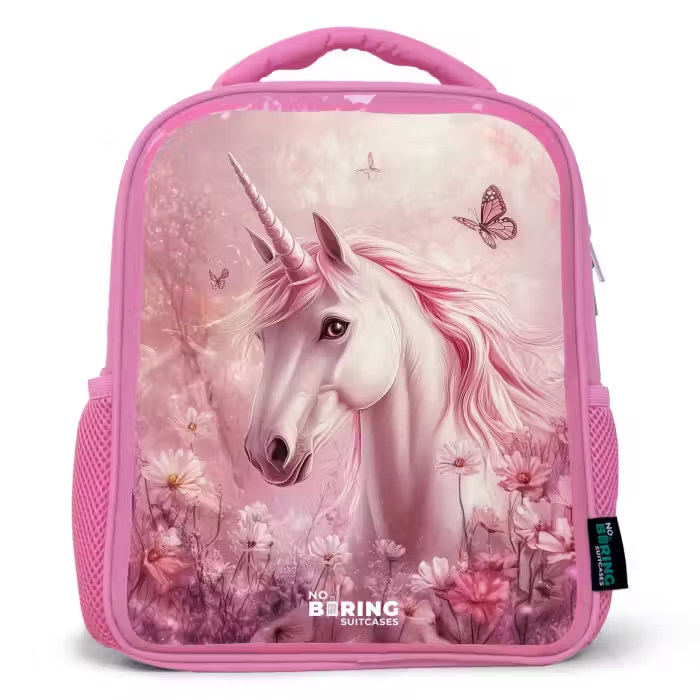
Careful: carries so comfortably you’ll actually forget you’re wearing it


Step 5: Pick the features that genuinely improve comfort and convenience
Features are only useful if they solve a real problem for you. Extra straps, hidden pockets, and complicated compartments can add weight and make packing slower, especially for children. Focus on a small set of features that match the use case you chose in Step 1. If you’re buying for school, prioritise easy cleaning, simple organisation, and comfort on small shoulders.
A practical feature checklist:
- If you walk or cycle in changeable weather: Choose a splash-resistant backpack
- If you carry drinks or snacks daily: Choose a shape that keeps a lunchbox upright
- If you want less morning stress: Choose a design that makes items easy to identify
- If you want to reduce mix-ups at school: Choose name personalisation
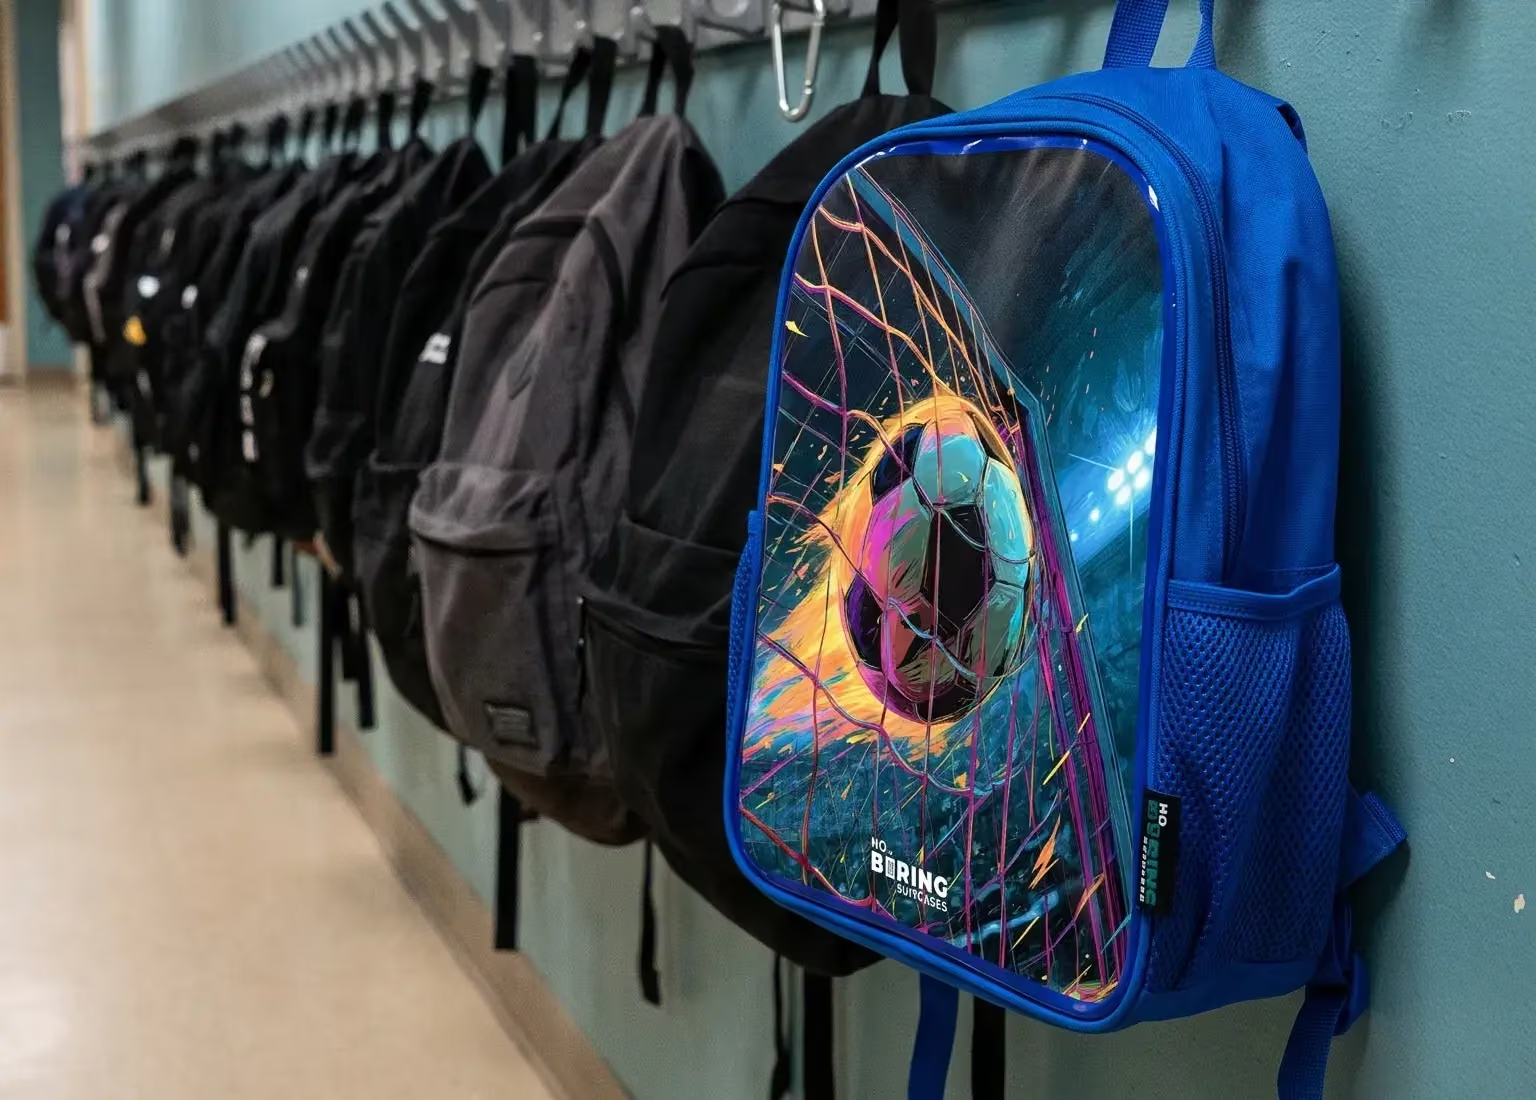
NoBoringSuitcases kids backpacks are splash-resistant, which suits school runs and unpredictable British drizzle without needing a fussy rain cover.
Step 6: Decide on materials (durability, cleaning, and weather resistance)
Materials determine how a backpack copes with playgrounds, pavements, buses, and the bottom of a locker. You also feel the difference when you clean it: some fabrics hold onto grime, while smoother surfaces wipe down quickly. For kids, the ability to wipe off sticky fingerprints and small spills is a daily win. For travel, you’ll care about scuffs, light rain, and how the bag holds its shape.
Here’s a simple materials comparison:
- Transparent PVC + Polyester: Structure sturdy; visibility high (easy to find items); cleaning: wipe with a damp cloth; weather resistance: splash-resistant; best for school, travel days, and outings where quick access matters

Step 7: Match the backpack to the person (style, colour, and personalisation)
Once you’ve nailed capacity, fit, and features, personal preference becomes the tie-breaker that makes a backpack feel like the right one. For children, style isn’t superficial: a bag they love is a bag they’ll actually use and look after. Colour choice can also make life easier, like spotting the bag quickly at pick-up. If you’re buying for siblings, different colours reduce the chance of swapped bags.
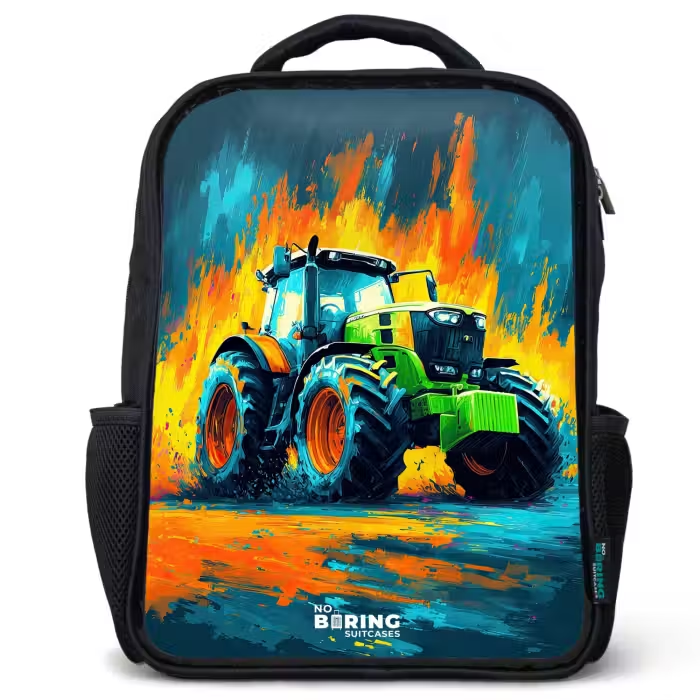
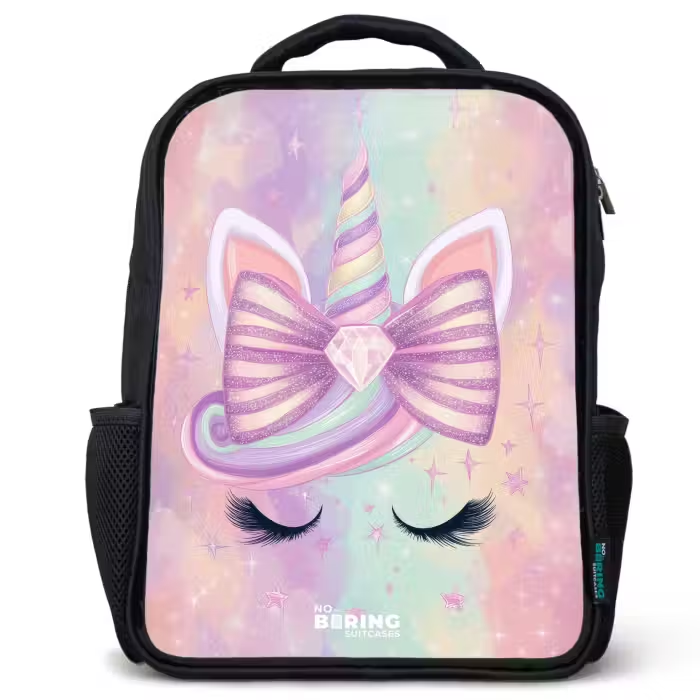
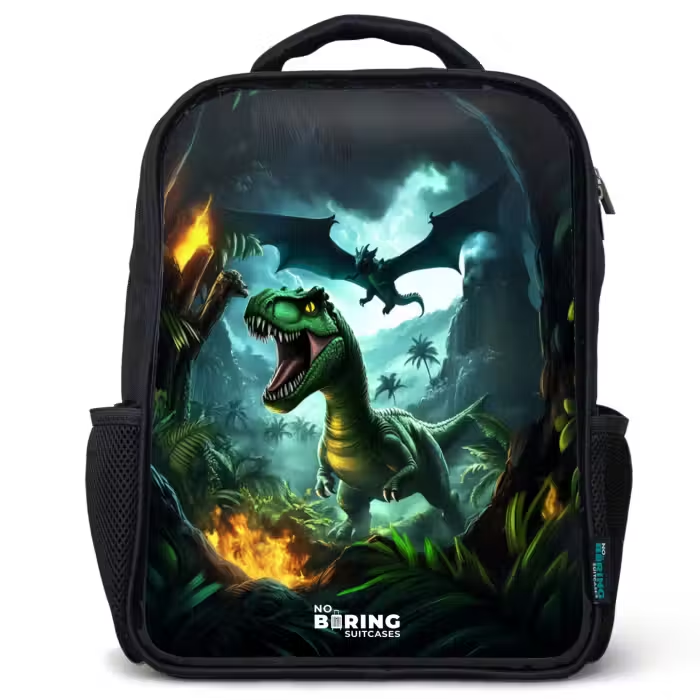
NoBoringSuitcases offers multiple colour options depending on size. The smaller backpack (26 x 10 x 32 cm) comes in blue or pink, while the larger backpack (30 x 15 x 39 cm) comes in black with a bolder look. To explore by colour, use Kids backpacks blue, Kids backpacks pink, or Kids backpacks black.
When should you choose a backpack with a name?
Choose a named backpack if the bag will be used in busy shared spaces like nursery, school, breakfast club, sports halls, or after-school clubs. It cuts down on lost property and makes it easier for teachers and carers to return it quickly. With NoBoringSuitcases collection designs, you can choose a version with or without a name and set the name, size, and font in the editor.
When is a backpack with your own photo the better choice?
Choose a photo backpack when you want something truly one-of-a-kind, or when your child responds better to familiar faces, pets, or a favourite memory. It’s also a smart option for gifts because it feels personal without guessing someone’s favourite character. NoBoringSuitcases offers a Kids backpack with own photo, with an optional professional photo check that reviews sharpness, resolution, pixels, and colour before printing to avoid disappointment.

Step 8: Do a 30-second “real life” test before you commit
A backpack can look perfect online and still be annoying in daily use. Before you decide, run a quick mental rehearsal of a normal weekday: getting ready, carrying it, opening it in a hurry, and putting it down on the floor. This catches the common problems, like a bag that’s too tall for a small child or a layout that makes it hard to find anything quickly. If you’re buying for a child, involve them in this step so they can practise opening and closing it themselves.
Use this final check:
- Can you pack the main items without forcing the zip?
- Can you find the one item you always need fast (keys, snack, pass)?
- Does it sit comfortably for 10 minutes of walking?
- Does the material suit your reality (mud, spills, light rain)?
- Will the person actually enjoy using it?
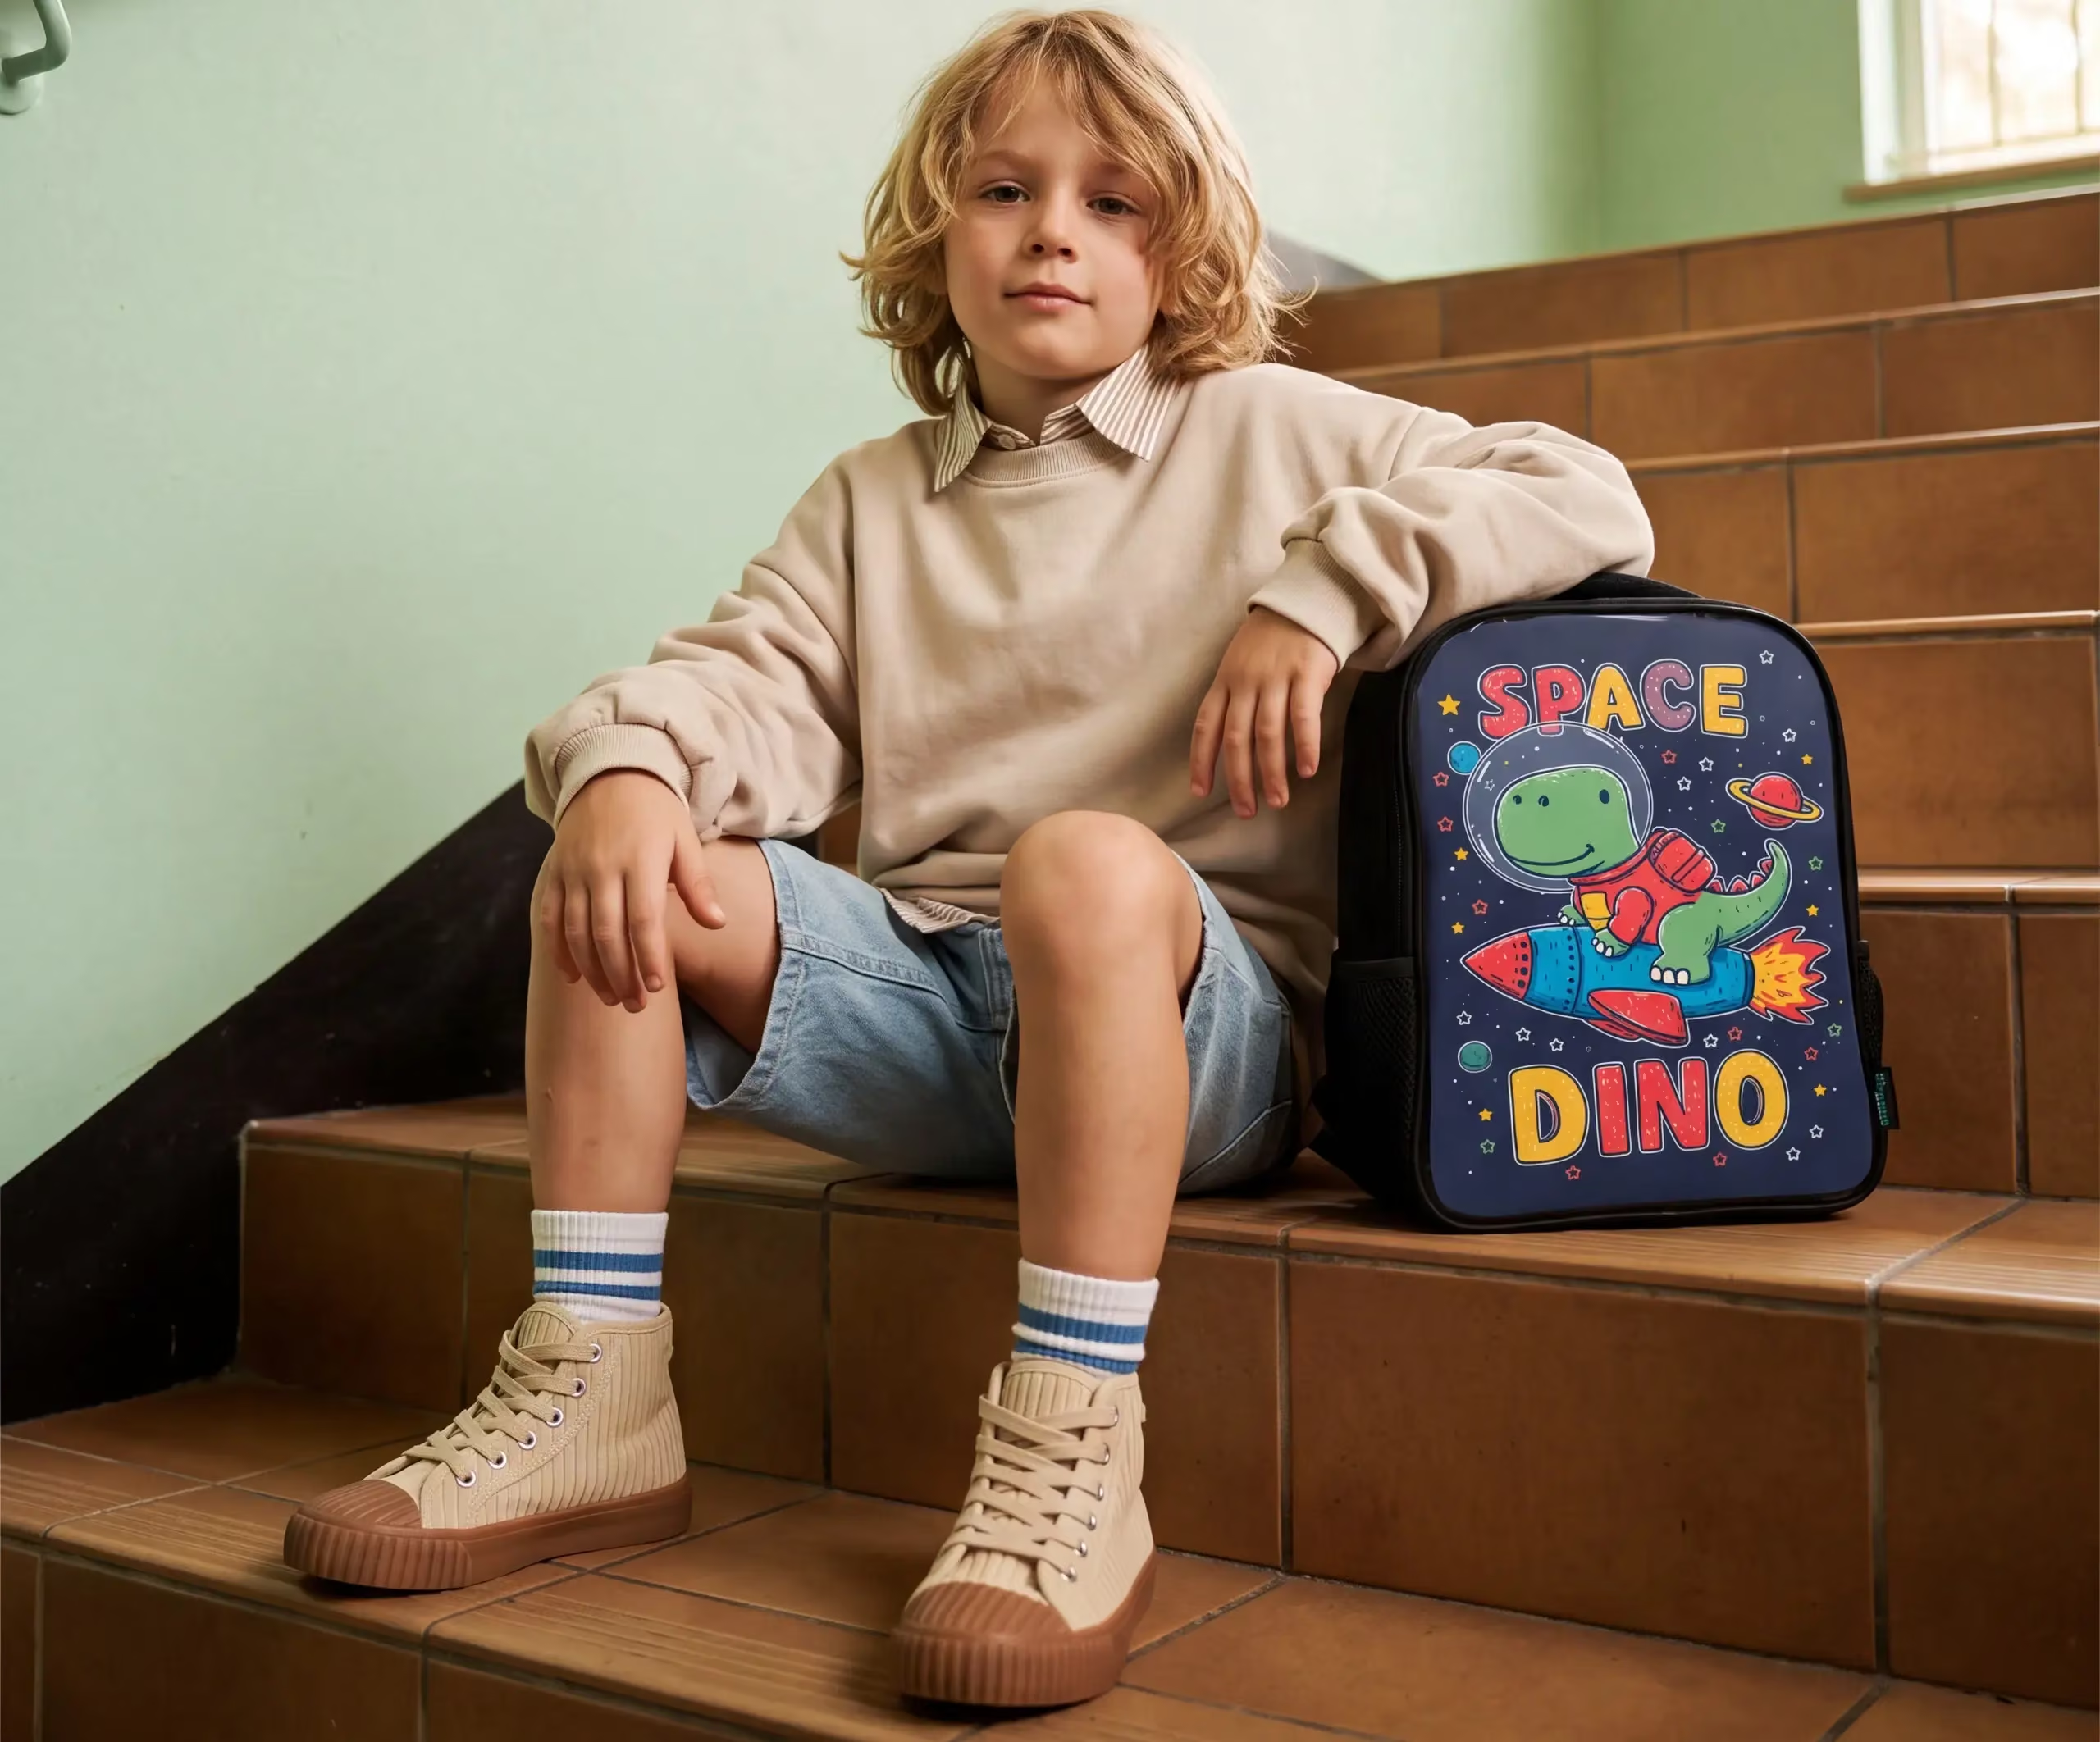
Choose a kids backpack that fits, lasts, and gets used every day
What matters most when choosing a backpack comes down to this:
- Choose the use case first, then match capacity to your typical load
- Prioritise fit over extra features, especially for children
- Pick access and organisation that prevent daily rummaging
- Choose materials you can clean easily and that handle splashy weather
- Use colour and personalisation to reduce lost property and mix-ups
Ready to choose a kids backpack that’s practical and personal? Explore NoBoringSuitcases designs in the collection, or create a custom option with a name or photo that your child will recognise instantly.

Most 5-year-olds do best with a compact backpack that fits their back and doesn’t swing when they walk. A size around 26 x 10 x 32 cm suits many children aged 3–8 for school essentials like a lunchbox and small jumper. Avoid sizing up too far, because an oversized bag quickly becomes uncomfortable.
Look for a supportive back system, stable shoulder straps, and capacity that matches your trip length (around 20–35 L for day hikes, more for overnights). Prioritise easy access to water, layers, and navigation items, plus weather protection suited to your climate. If you carry heavier loads, a more structured pack makes a bigger difference than extra pockets.
No: splash-resistant handles light rain and small spills, but it won’t protect contents if the bag is soaked or submerged. For school runs and day trips, splash resistance is often enough, especially if you keep electronics in an extra sleeve. For prolonged heavy rain, add a rain cover or pack sensitive items in a dry bag.
Choose a named backpack if it will regularly be left on hooks, in classrooms, or in shared changing areas. It makes returns far more likely and helps children identify their own bag quickly. If the bag stays mostly at home or you prefer a cleaner look, the non-name option works fine.
Use a sharp, well-lit photo with good resolution, ideally taken in daylight without heavy filters. Avoid tiny faces in the distance, blurry screenshots, or images with strong colour casts that can print unpredictably. If you want extra certainty, the professional photo check helps catch issues before production.